Showing posts with label #cardmaking. Show all posts

Wednesday, 17 May 2023

Drink Me

 Hi Crafty friends!

I hope you are doing great 😊


Today I have a lovely card project with the popular brand Jorguss by Santoro.  Always love that cute girl, without facial expressions 😆 I just something nice and very different from the rest of the illustrations in the market.

This stamp was colored with watercolors in the popular pink/purple combination for girly stuff. 


I hope you like it 😉Thanks for stopping by!

Happy Crafting 💕


Friday, 5 May 2023

Coronation King Charles

 Hi Crafters!

I hope you are doing great!

This week we have the Coronation of King Charles III and the Queen Consort, so I made this card to commemorate the special occasion.

Also, at the bottom of the page, I will let some pictures of some amazing knitting done for the postal boxes.


I do admire this work so much, the patience, precision, and imagination that requires is just amazing!


Thanks for stopping by and have a great week.   Happy crafting! 😉


Thursday, 4 March 2021

Easter Digi crafts

 Hi Crafters!

I hope you are doing great, 💖and ready to enjoy all the chocolates that are around this time of the year.

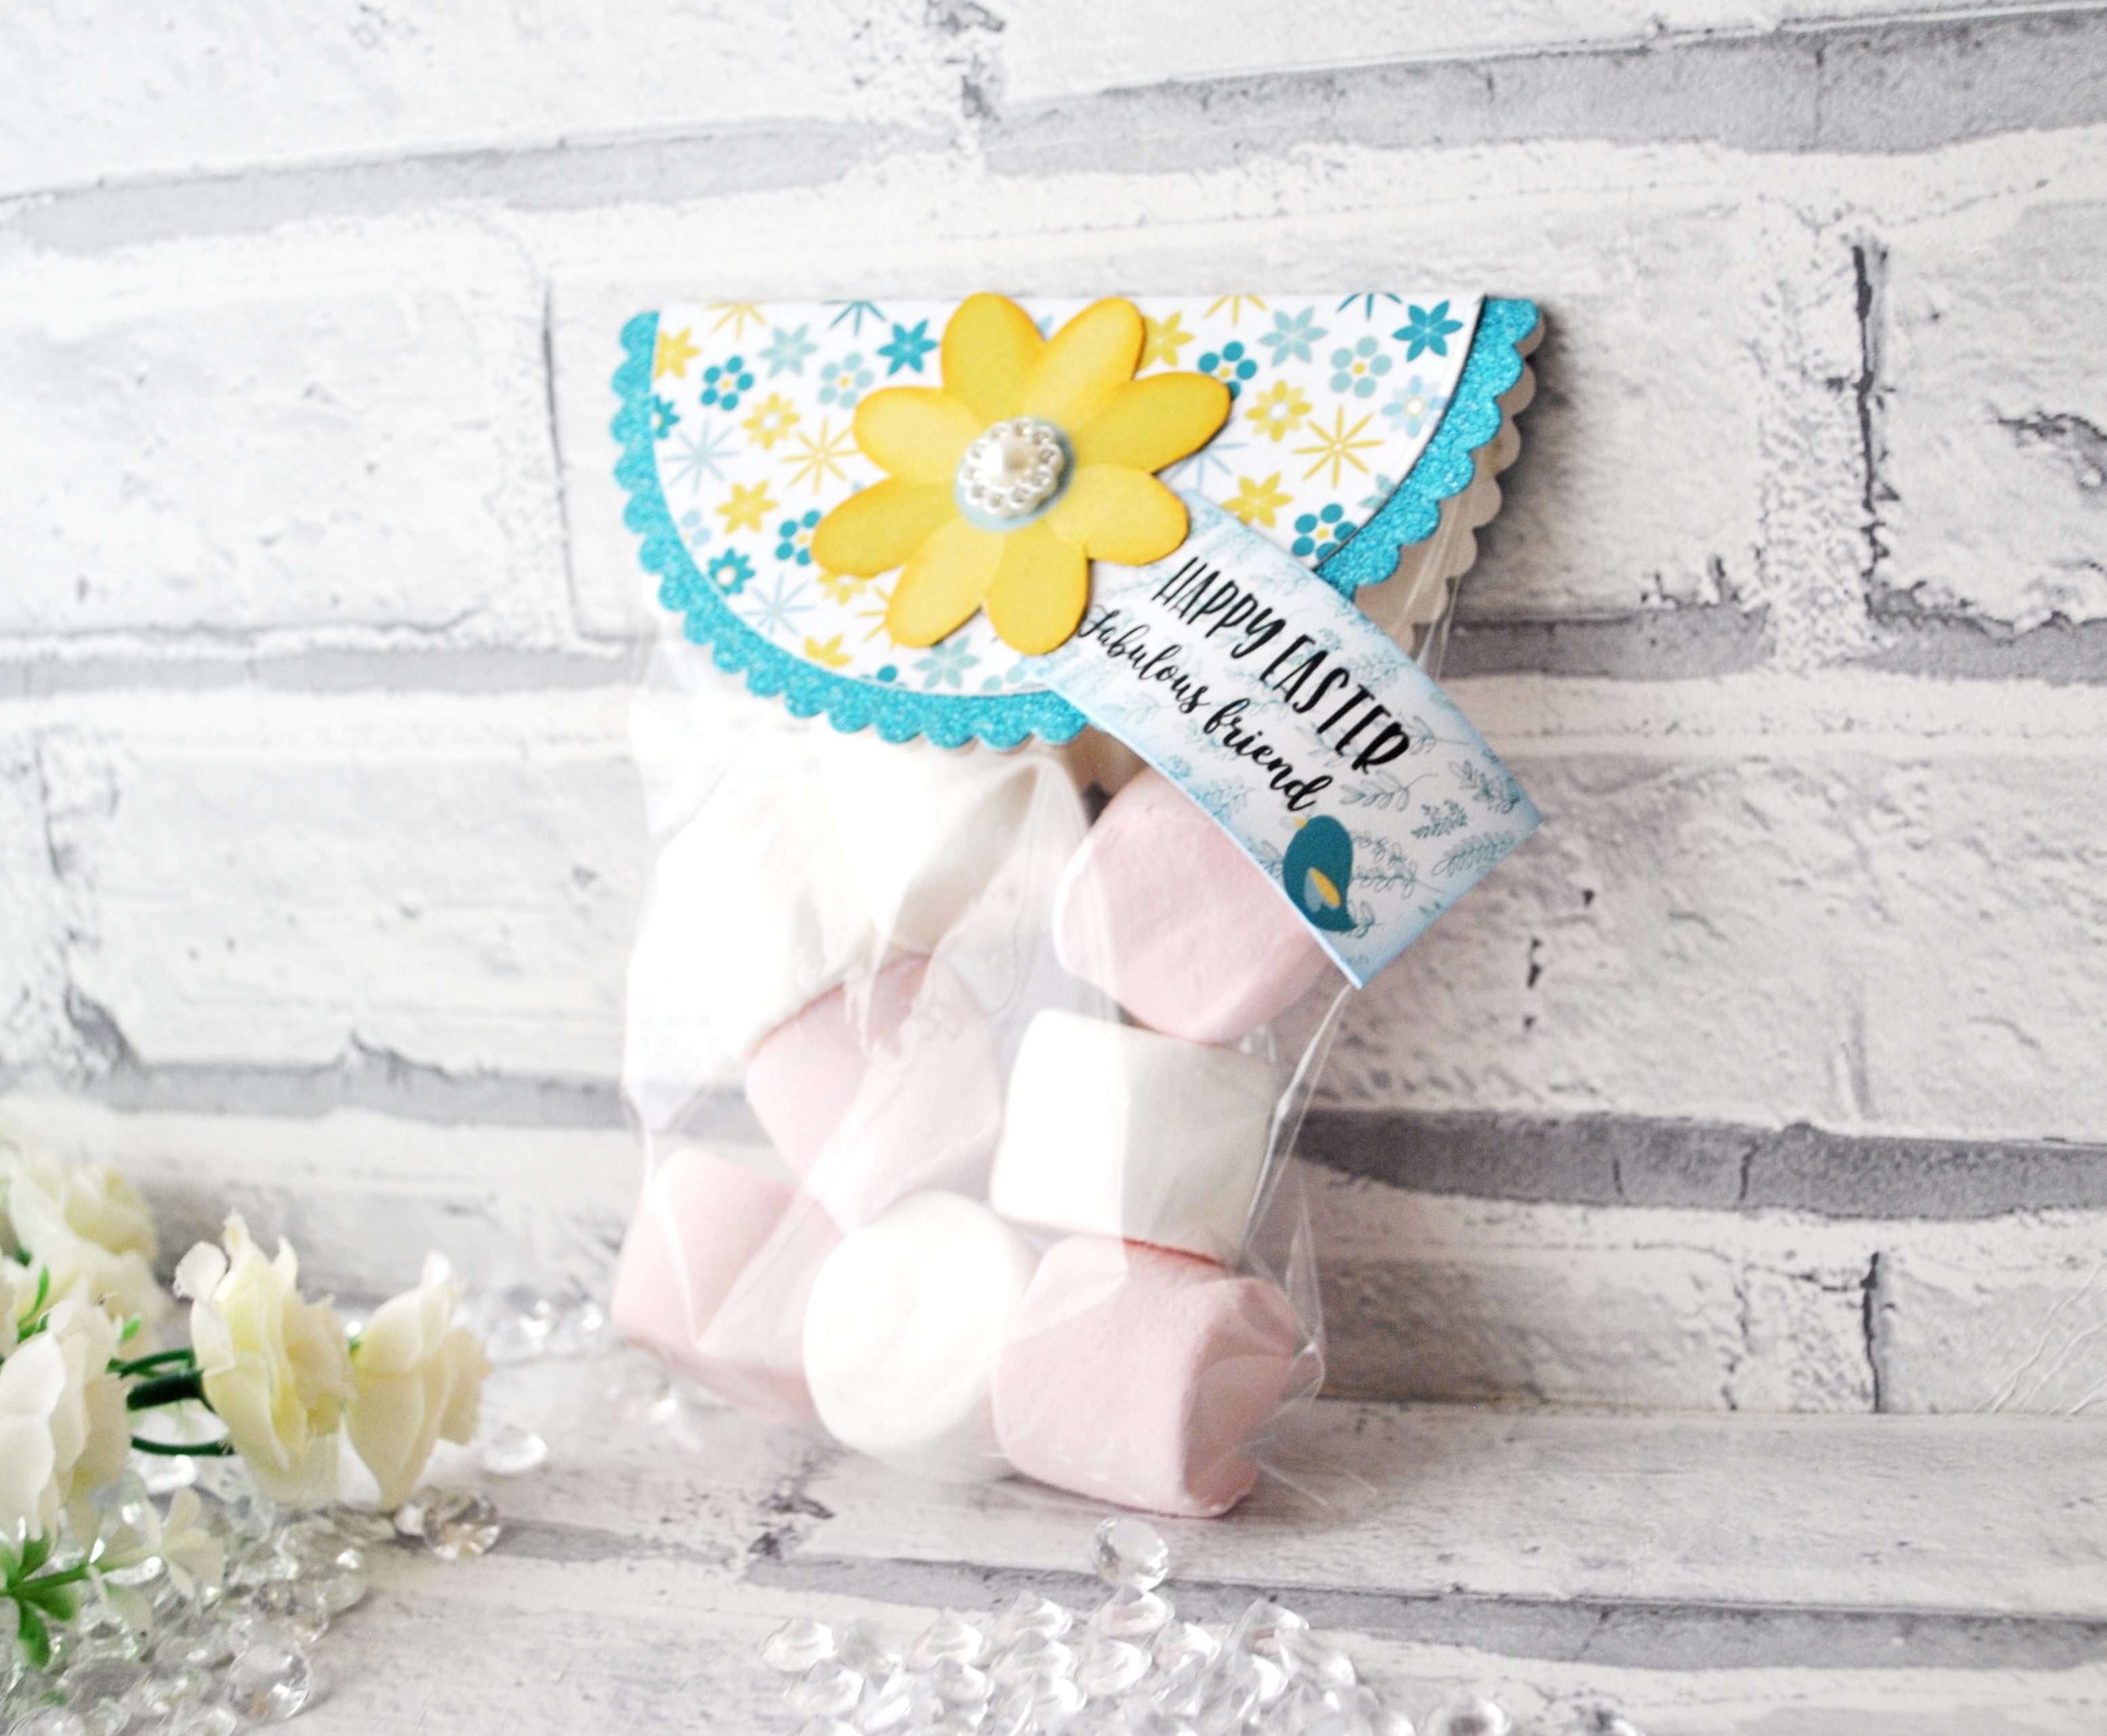
Today's project was created by using the Digital collection for Easter of the Crafter's Inspiration Magazine. I hope you can find some inspiration and ideas to celebrate Easter!


Thanks for stopping by, Happy crafting 💖

Thursday, 16 July 2020

Beautiful Borders part 1

 Hi crafters

Hope you are safe at home 💖 Here are some beautiful items created with the amazing set of Sentiment Borders from Crafters Companion. They are lovely and they look beautiful in any papercraft item.

Hope you like it 😀


Thank you for stopping by 💖Crafty blessings 🙏

Saturday, 30 May 2020

Messy Backgrounds part 1

 Hello Crafters 💖

Hope you are safe and happy.  Here are a few samples of cards made by using the beautiful background stencils from Crafters Companion. I do recommend giving a try. That's so much fun 😄 .


Monday, 30 March 2020

Yummy Cards!

Hello Crafters!
I hope you are ok. Today's projects are cards with a cupcake theme. So yummy! I hope you like it as much as I do.

For creating these cards I used:
Centura pearl Snow white (for all the base blanks)
Stamping Card
Parisian Paper Pad
Spring is in the air Corners die
Black Mat Cards
Spectrum Noir Triblend Alcohol Markers
Cupcake double layering dies.


Thanks for stopping by 💖 Happy Crafting xx


Wednesday, 27 February 2019

Fairy Wishes - 💖 Tutorial

Hello Crafty friends!

Today's project is a lovely card created with the goodies from the "Enchanted Forest" collection by Crafter's Companion. Hope you enjoy it 💖


You will need:
17x17  cm Square tent Blank
Black Mat Card 
Centura Pearl Snow White
Enchanted Forest Mirri Cardstock  (Lilac)
Enchanted Forest Paper pad 6" x 6"
Rectangular essential die 
Mythical Creature Die
Enchanted Forest Fairy Wishes Stamp and Die
White half Pearl
Versamark Ink Pad
Distress Ink Forest Moss
White Embossing Powder Sea Foam
Lilac Ribbon 5mm width.
Foam Pads
Dabbers
Collall Glue
Golden Gel Pen
White Gel pen
3D Collall Glue
Craft Essentials

Step by Step:

1.- Select a sheet of blue pattern paper from the Enchanted Forest paper pad. Use the Distress Ink to rub the dabber in a circular motion along the edges of the paper to create a shadow. Mat with a 16 x 16 cm piece of Lilac Mirri card. Affix to the front of the card.
2. Die cut the Unicorn out of black card. Affix to the left side of the front of the card. Use the olden gel pen to add few details to the unicorn like the eye and lines to the horn.3.- Use the ribbon to create a bow of 4 loops. Attach to the left top corner by using the 3D Collall glue. Add a white half pearl in the bow's centre.4.- Stamp the sentiment onto a Black Card with the Versamark ink. Whilst ink is still wet pour over the white embossing powder and shakes off the excess. Use the heating tool to melt the powder. Die Cut the sentiment by using the rectangular die.  Add a border to the sentiment drawing short lines around with the white gel pen. Add foam pads on the back. Affix to the front of the card in the right bottom to finish.


Thanks for stopping by 💖 Happy Crafting xx

Tuesday, 12 February 2019

Enchanted Fairy 💖 Tutorial

Hello crafty friends!
Hope you are Ok. 😏Today's project's a stepper centre card created with the amazing collection Enchanted Forest by Crafter's Companion and here the tutorial to create it. 


To create this beautiful card you will need:

Double  Stepper  Centre Blank
Black Card Mat
Centura Pearl Snow White
Enchanted Forest  Mirri Card  (Pink)
Sheena  Stamping Card
Frolicking Fairies Die
Enchanted Forest Paper pad 6" x 6"
Die'sire essential Oval  die
Die'sire essential Oval  Scallop die
Die'sire - Flowers For All Occasions 3 Die
Enchanted Forest Fairy Wishes Stamp and Die set
Distress Ink Shaded Lilac
Stazone Ink Pad Jet Black
White half Pearls,  Gems
Foam Pads
Collall Glue
Craft Essentials


1-  Cut all the layers for the panels of the stepper card out of a  Pink-Violet  Enchanted Forest paper pad.  Dab the  Distress Ink with a blending tool and apply along the paper edges to create a light shadow around the borders. Mat onto a pink Mirri card before affixing them to the blank.

2.- Die cut the fairy out of black mat card. Affix to the main panel of the stepper card.

3.- Die cut the flower twice, one out of White Centura Card and another one out of Pin Mirri Card. Create the flower by attaching the two pieces together slightly offset. Add a half pear or gem in the centre. Affix to the left top corner in the main panel.

4. Stamp the sentiment onto a Neenah card with the Stazone Ink. Die cut the sentiment with an Oval die. With the die still attached to the paper use the Shaded Lilac distress ink with the blending tool to create a light shadow around the borders of the die cut. Retire the die cut from the die. Add foam pads on the back.  Mat onto an oval scallop die cut made out of pink mirri card slightly big.  Add foam pads on the back.  Affix to the centre of the base panel to finish.


 Thanks for stopping by 💖 Happy Crafting!


Monday, 4 February 2019

Quirky Sentiments

Hello Crafty Friends
Hope you re well and happy,  today projects were made with the new Quirky Stamps. They are so fun to work with and lovely.


Thanks for stopping by 💖💖 Happy Crafting 😏