Showing posts with label Christmas. Show all posts

Friday, 18 December 2020

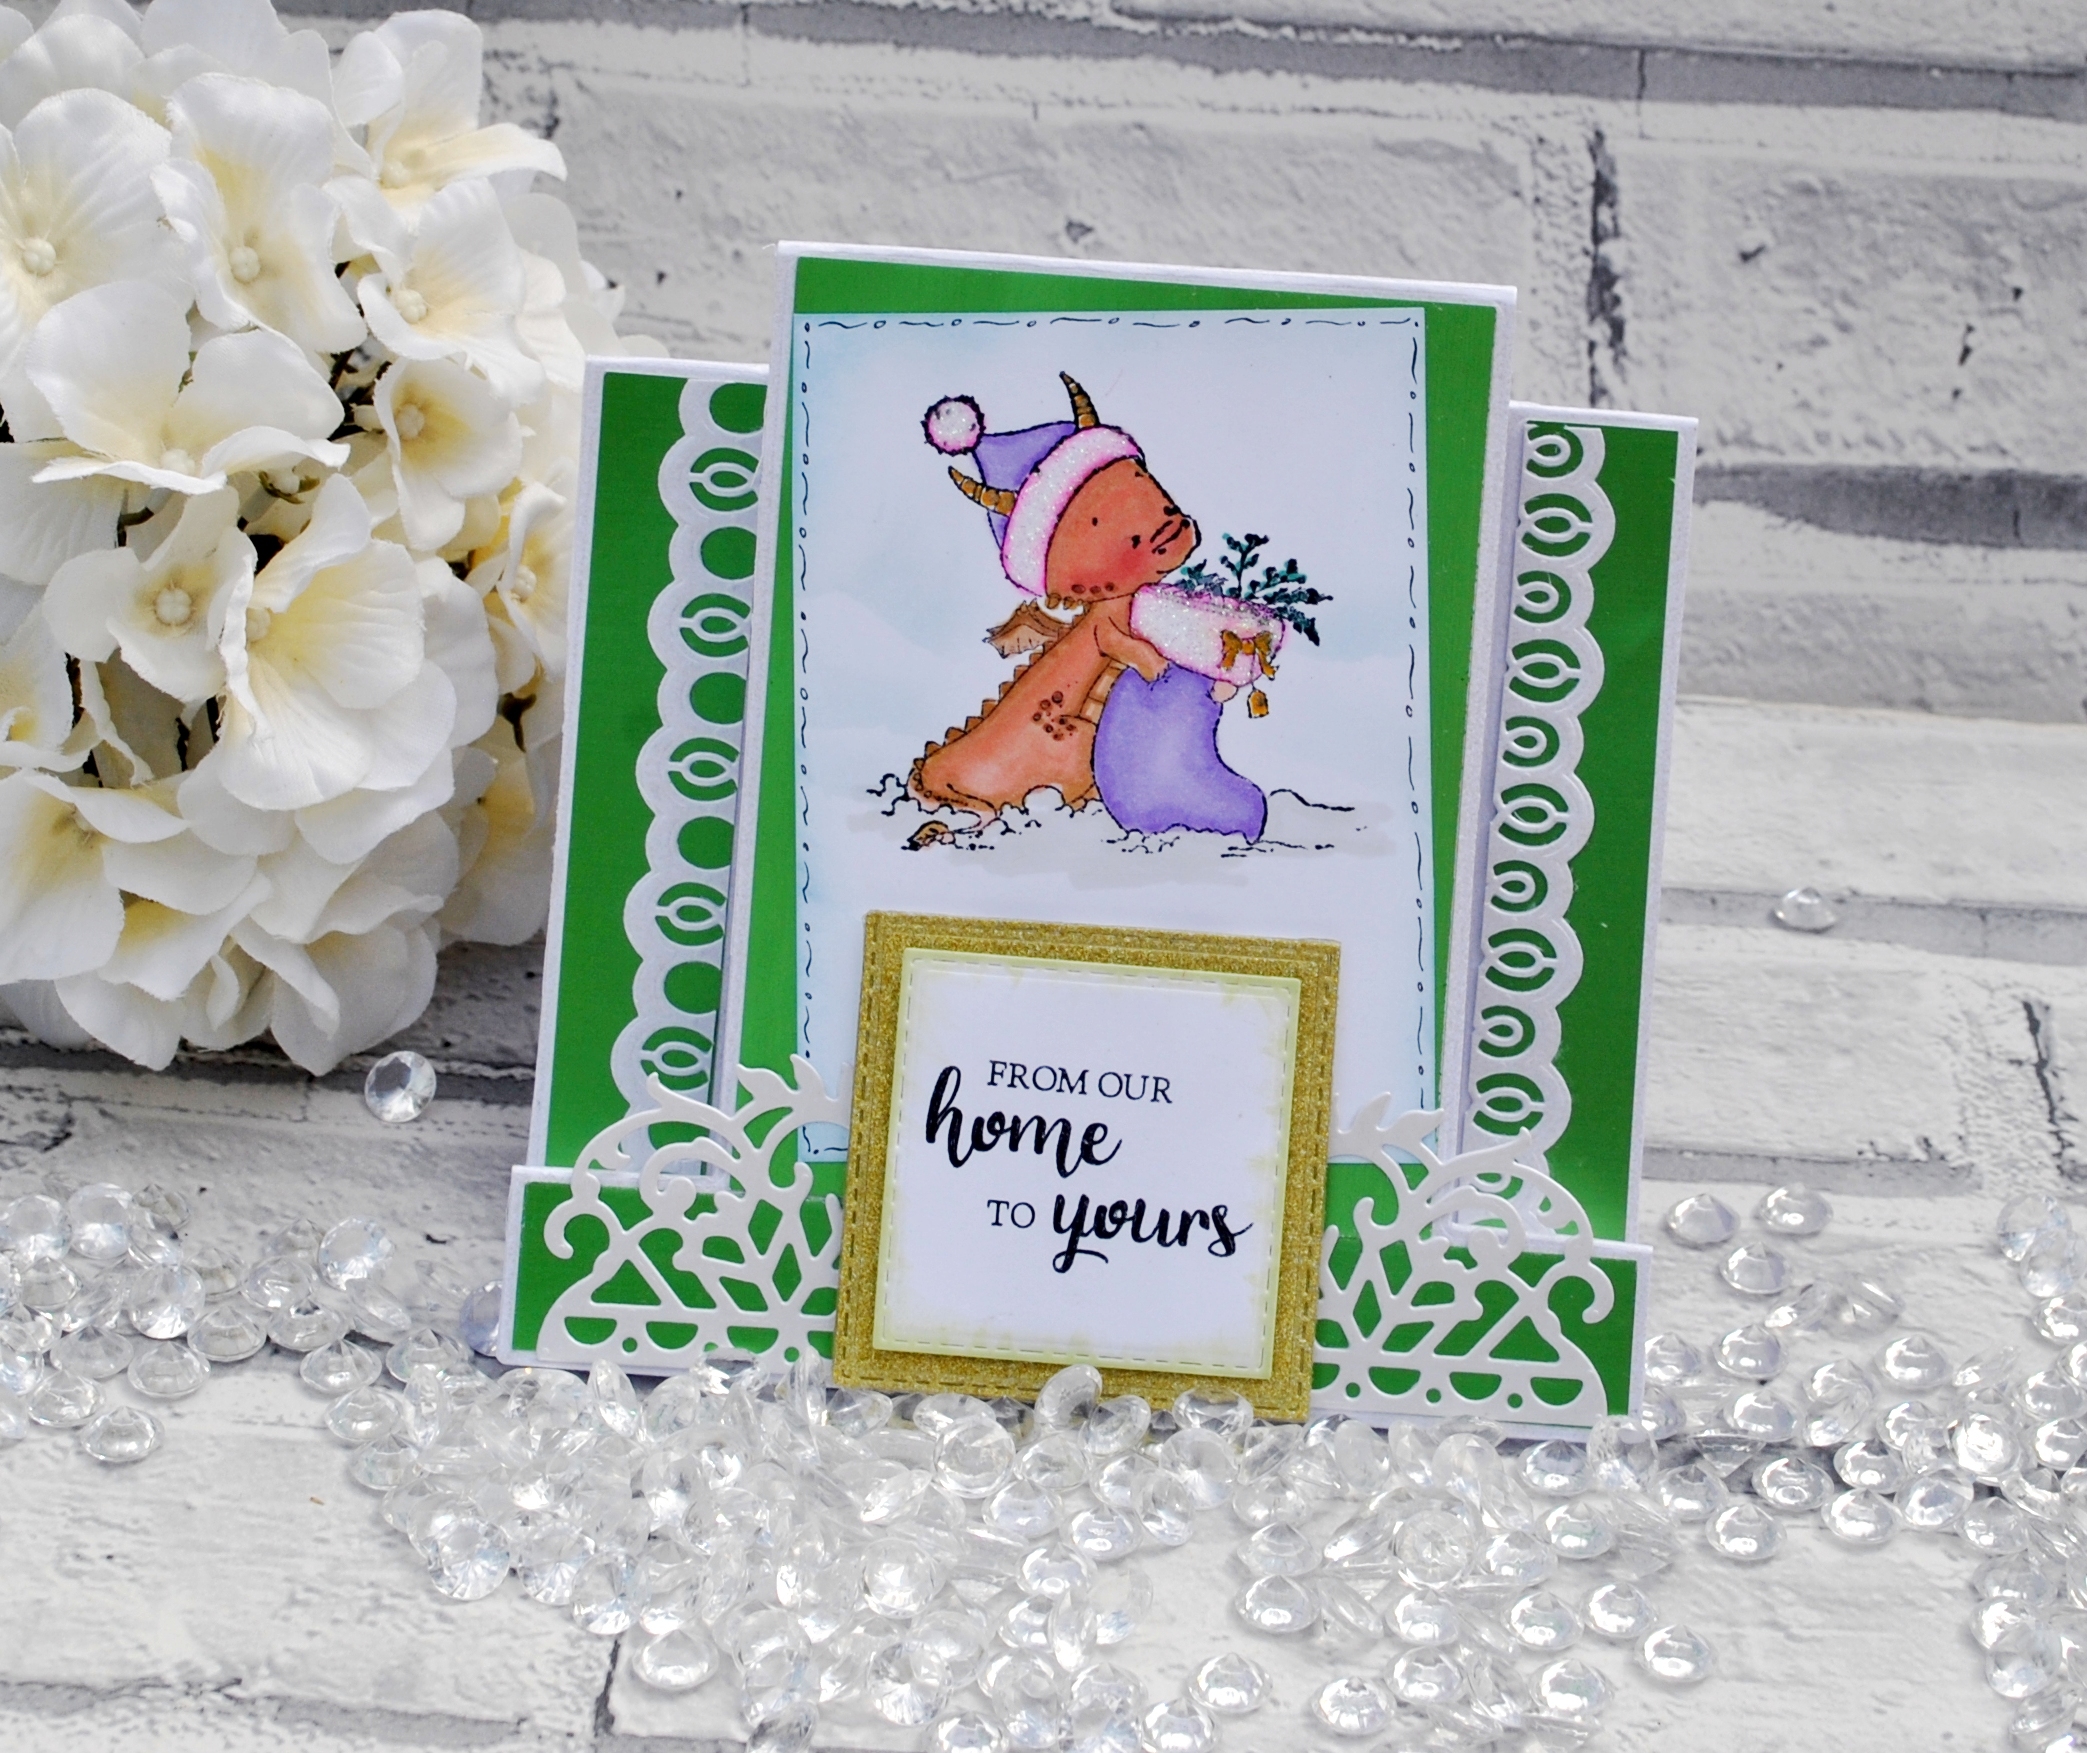
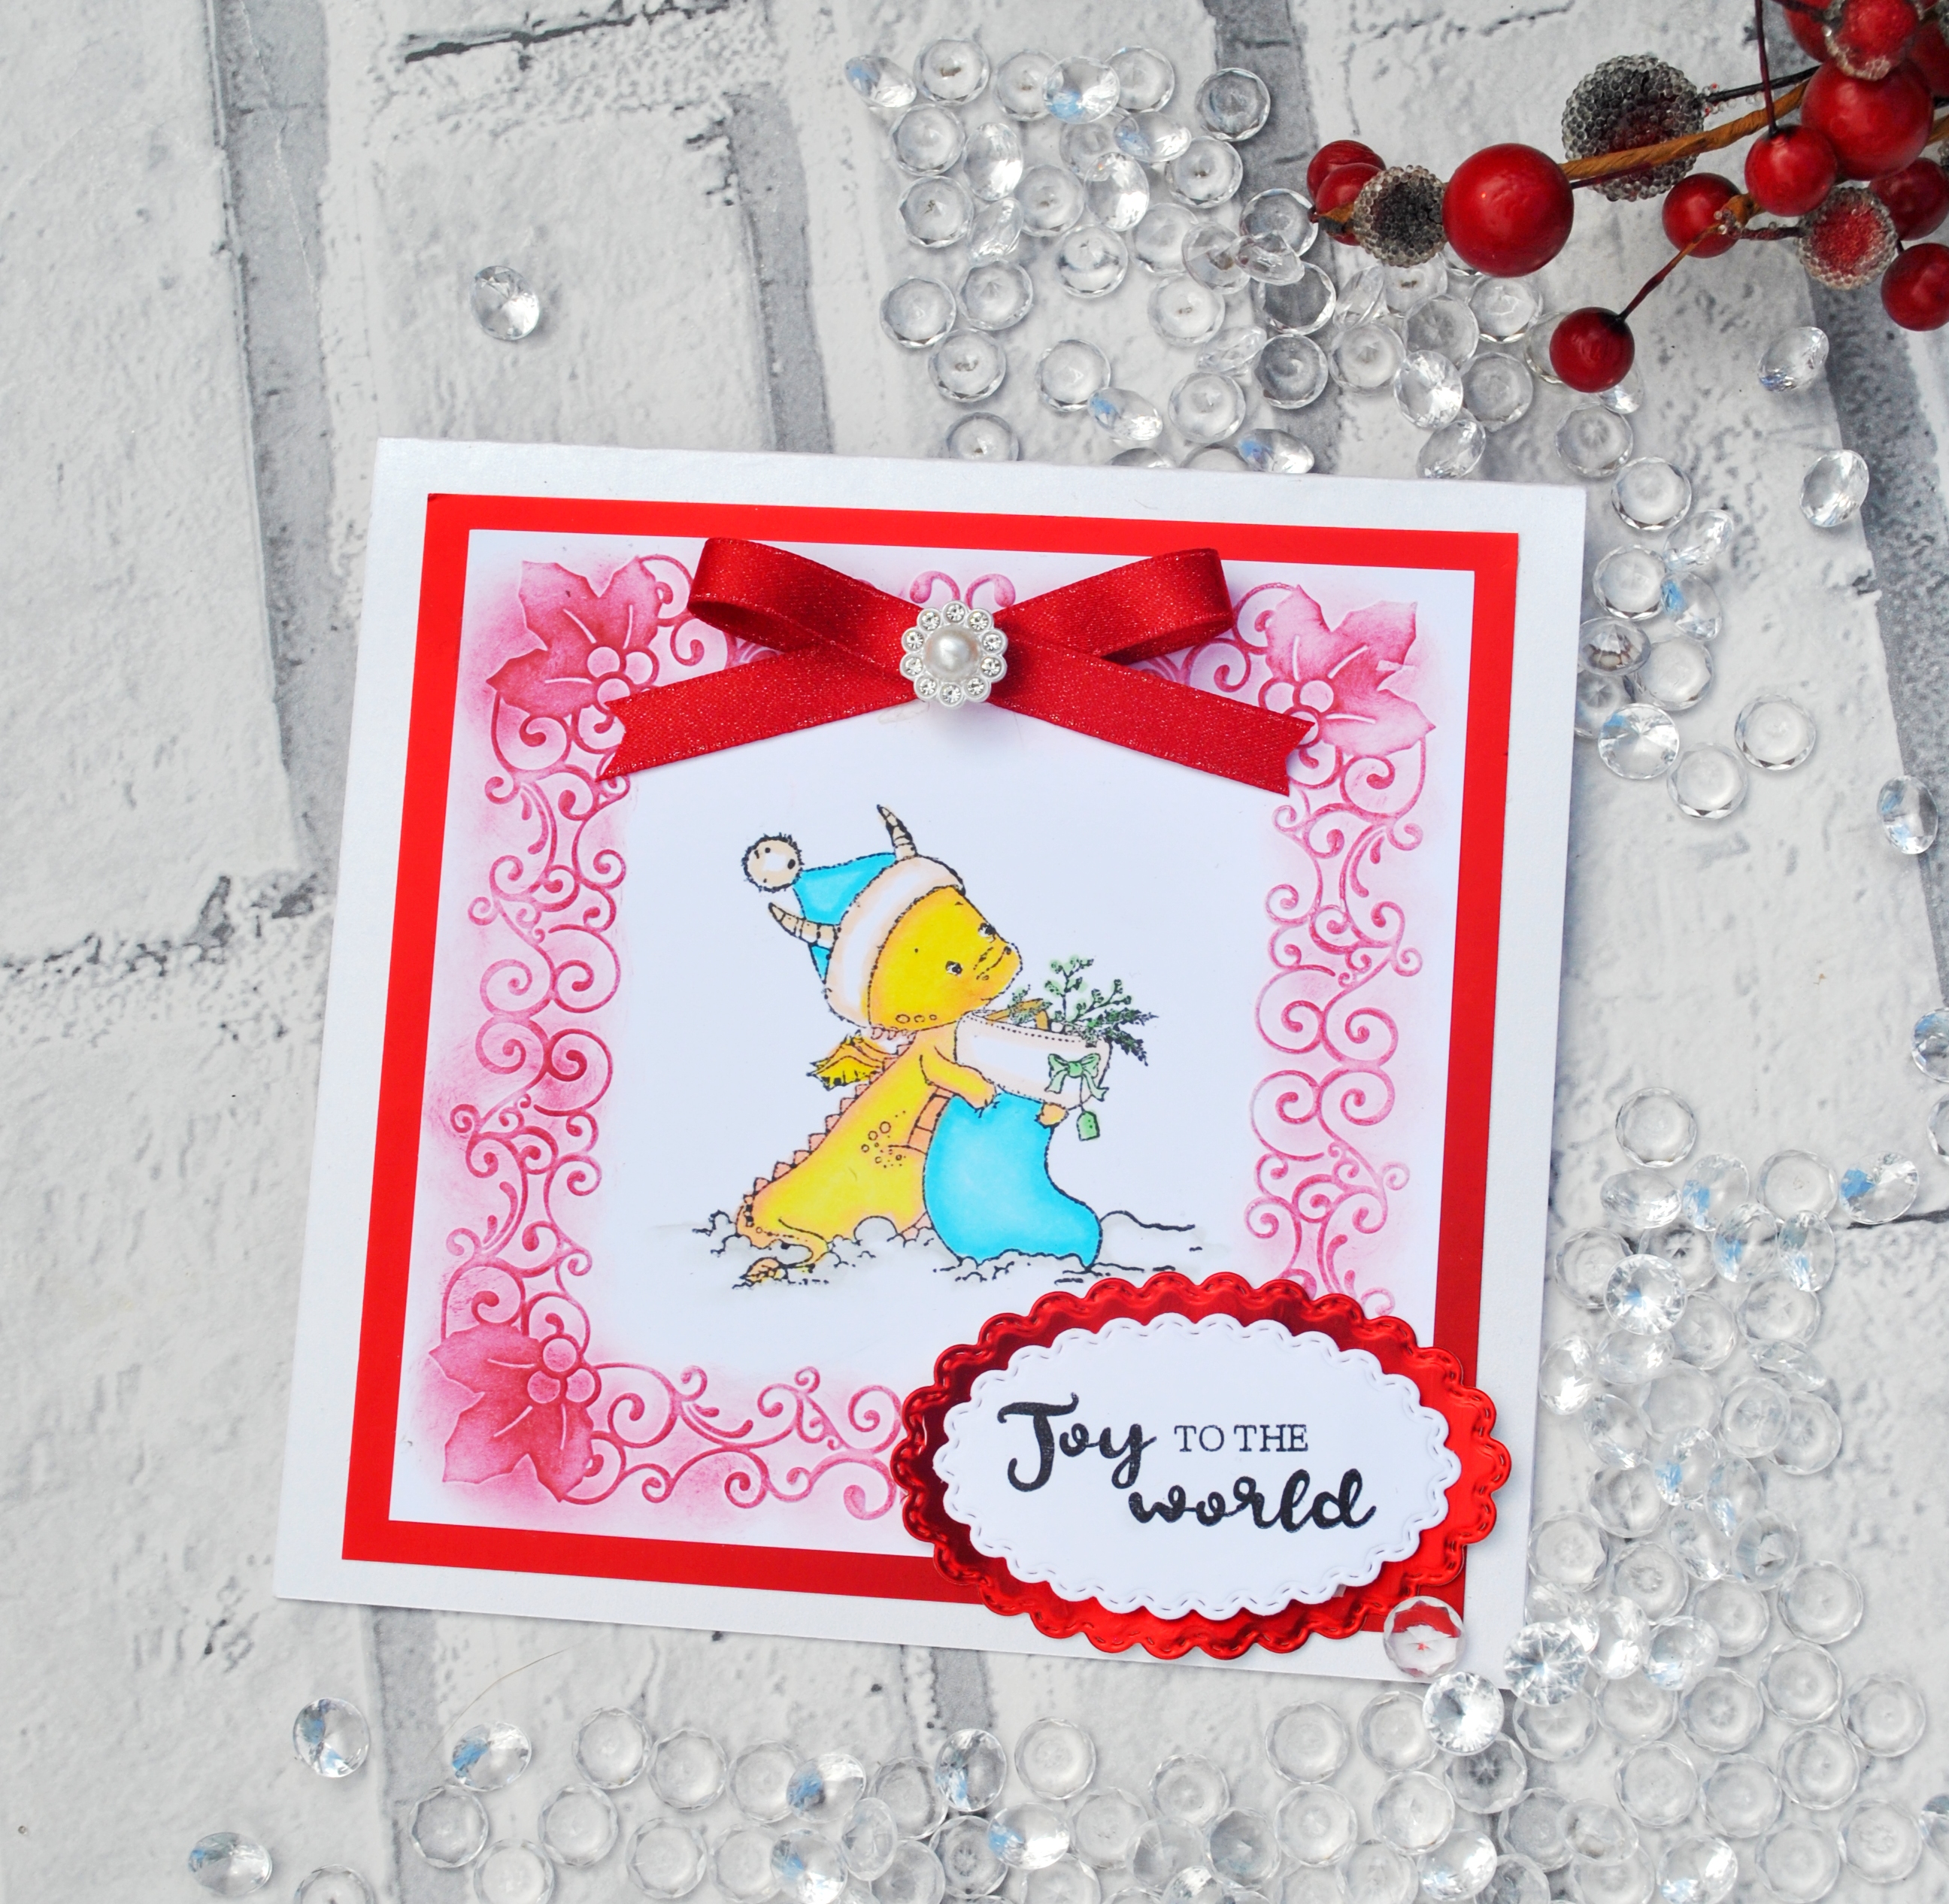
Christmas Dragon 🎄

 Hu Crafters!


I hope you are having a lovely time 💖for this week's projects, I used a lovely Christmas set of stamps from Crafter'e Companion, with a super cute Christmas Baby Dragon. So, you can see below the different projects I created by using the  Spectrum Noir Alcohol Markers and the same stamp.


To create this projects I used White stamping cardstock, Spectrum Noir Alcohol Markers, Glitter Cardstock, Tacky Glue, Ribbons and  Half Pearls.

Thank you for stopping by 💖 take care!


Monday, 31 December 2018

Sparkle - Tutorial 🎄 Happy New Year !

Happy New Year! 🎄 Crafty Friends.
 As we celebrate this season of joy and good will, I wish all my blogger friends to have yourself an awesome New Year 2019. 🎅May this year bring new happiness, new goals, new achievements and a lot of new inspirations on your life.

Here's the last project of 2018. A stunning dimensional card full of Christmas crafty goodies. Hope you like it!


You will need:
Blank  17 x 15 cm x2
Gemini Create-a-Card Christmas Dimensionals - Tree Concept Die
Gemini Create-a-Card Christmas Dimensionals - Tree Accessories Pack Dies
Gemini Dimensionals Clear Stamp - Tree Accessories
Gemini Dimensionals Clear Stamp - Festive Phrases
Gemini Dimensionals Elements Metal Die - Sparkling Snowflakes 1
Crafter’s Companion Dimensionals 12 x 12 Printed Paper Pad - Decorative Christmas
Crafter’s Companion Dimensionals 12 x 12 Matt Cardstock - Decorative Christmas
Gemini Dimensionals 5 x 7 Embossing Folder - Holly Vine Swirls
Centura Perl Snow White cardstock A3
Distress Ink Mowed Lawn
Neenah Cardstock
Red Ribbon
Multicolour Gems
Stazone Jet Black inkpad
Distress Inks  
Spray and Stay permanent glue
Collal Tacky Glue
Craft Essentials


Step by Step
1-  Create 2  blanks of 17x15 cm for the base card with the Centura Pearl A3 Cardstock. Score and fold one by the middle. Keep the other one straight and draw a line with a pencil in the half. Do not score!
2-  Position the Tree concept die in the straight card. Make sure the notches in the die are aligned with the pencil line. Secure the die in position with a low tack adhesive, cut it with the die cut machine and manipulate the pop-up. Score across the card but not over any of the concept parts, gently fold out the Tree. 
3.-Cut a piece of 8.5 x 15cm out of patterned paper from the Decorative Christmas cardstock. 
Position the piece in the inside top of the card and place your concept die over the base card in the same place where you have the first die cut.  Secure the die with a low tack adhesive, (only this piece of paper).  Remove the base card from underneath and run it through the die cutting machine. Snip and discard away the partial die cut.

5.- Line the base card with the pop out over the plain base card so the back of the pop out can be seen. Use a piece of paper pad with the same design of the inside of the card to stick in the base card just underneath the white space where the pop up is.
6.- Glue the two blanks together. Make sure don't glue around or in your pop up.

7.Die cut the pop out tree by his own out of green cardstock, the little windows and the scenes to be positioned at the side of the tree. Use the frame and tree stamps with the Stazone ink over the die cuts to give it more detail. Attach the scenes behind the windows. Add foam pads and attach each side of the tree in the card.
8 Die cut the elements from the Tree Accessories pack out of coloured cardstock. Attach them to the stamped tree. Affix the tree over the pop out.
9. Die cut enough foliage to decorate the border of the card and the windows in light and dark green cardstock. Place then in the inside top on the card from side to side. Die cut the little poinsettias and place them in the foliage as shown. Add a yellow gem in the centre of the poinsettias.
10. Attach the foliage die cuts to the windows bottom border and a poinsettia die cut in the centre.
11. Die cut a piece of patterned cardstock k of 7.5x7 cm. Affix it o the inside bottom as shown,
11. Stamp one of the sentiments from the  Festive Phrases clear stamp set over Neenah Card. Die cut the border top and bottom with a decorative Christmas border die. Cut the sides straight.  Attach to the inside bottom. Add foliage and one poinsettia to each side of the sentiment.


Outside :
1. Emboss the piece of white Centura Card with the  Gemini Dimensionals 5 x 7 Embossing Folder - Holly Vine Swirls.  Dab slightly a Mowed Lawn Distress Ink to the embossed surface. Wrap a red ribbon at the bottom. Use few die cuts of foliage and poinsettia to create an embellishment. Place over the ribbon as shown.
2-. Die cut the word Sparkle in black out of black cardstock.  Affix the sentiment at the right side over the ribbon. To finish add one silver snowflake on the top right.


Thanks for stopping by🎄Have a wonderful New Year 2019!🎅
.
Sunday, 30 December 2018

Believe 🎅 Tutorial

Hi crafty friends! 🎅 Today's project is another awesome dimensional card.
Hope you like it!


You will need:
15X15 cm Blank x 2
Gemini Create-a-Card Christmas Dimensionals - Sleigh Concept Die
Gemini Create-a-Card Christmas Dimensionals - Sleigh Accessories Pack Dies
Gemini Dimensionals Clear Stamp - Sleigh Accessories
Gemini Dimensionals Clear Stamp - Festive Phrases
Gemini Dimensionals Elements Metal Die - Sparkling Snowflakes 2
Crafter’s Companion Dimensionals 12 x 12 Printed Paper Pad - Decorative Christmas
Crafter’s Companion Dimensionals 12 x 12 Matt Cardstock - Decorative Christmas
Centura Perl Snow White cardstock A3
Gemini - 5 x 7-inch Embossing Folder - Sparkling Snow
White Gesso Pebeo
Clear gems
Blue ribbon 15 cm wide
Spectrum Noir Colour Blend Pencils
Collal Tacky Glue
Craft Essentials


Step by Step

1-  Create 2  blanks of 15x15 cm for the base card with the Centura Pearl A3 Cardstock. Score and fold one by the middle. Keep the other one straight and draw a line with a pencil in the half. Do not score!
2-  Position the Reindeer concept die in the straight card. Make sure the notches in the die are aligned with the pencil line. Secure the die in position with a low tack adhesive, and cut and manipulate the pop-up. Score across the card but not over any of the concept parts, gently fold out the Reindeer. 
3.-Cut a piece of 15 x 15cm Neenah card.  Use Peacock Feathers Distress Ink and a piece of the curvy line die cut with a dabber to create some hills.

4.- Position the piece in the inside top of the card and place your concept die over the base card in the same place where you have the first die cut.  Secure the die with a low tack adhesive.   Remove the base card from underneath and run it through the die cutting machine. Snip and discard away the partial die cut and you will get the perfect outline to do the layering.

5.- Line the base card with the pop out over the plain base card so the back of the pop out can be seen. Use a piece of paper pad with the same design of the inside of the card to stick in the base card just underneath the white space where the pop up is. Make the same procedure for the base of the card with your patterned card.

6.- Glue the two blanks together. Make sure don't glue around or in your pop up.
7.Die cut the little the trees to be positioned over the hills. Add some colour with the spectrum Noir Colour Blend pencils. Affix to the card.
8.- Die cut the Reindeer from the pop out die and the additional one out of brown coloured cardstock. Use the Reindeer stamps with the Stazone ink over the die cuts to give it more detail. Coloured with dark brown SN blend pencil.  Affix the first Reindeer over the pop out and the second close to it, as shown.
9. Affix a piece of blue ribbon over the half of the inside bottom of the card.
10. Stamp one of the sentiments from the  Festive Phrases clear stamp set. Die cut it with the circle die and layer over a scalloped glitter foam circle. Add few blue gems around.  Affix the sentiment to the inside bottom centre with foam pads.


Outside :
1. Emboss the piece of white Centura Card with the  Sparkling Snow  Embossing Folder. Add a light shadow around by applying a light layer of  Peacock Feathers distress ink.
2-. Stamp one of the sentiments from the  Festive Phrases clear stamp set. Die cut it with the circle die and layer over a scalloped patterned paper and white Centura Card.  Affix the sentiment to the centre with foam pads. To finish add few snowflakes with clear gems around the sentiment.


Thanks for stopping by🎄 Christmas blessings to everyone 

Saturday, 29 December 2018

Let it Snow 🎄🎅 Tutorial


Hi friends! Merry Christmas 🎄🎅 Thank you so much for taking your time away from family and friends to join me on the blog. Here's a special dimensional card I am sure you'll love.

You will need:

Gemini Create-a-Card Christmas Dimensionals - Sleigh Concept Die
Gemini Create-a-Card Christmas Dimensionals - Sleigh Accessories Pack Dies
Gemini Dimensionals Clear Stamp - Sleigh Accessories
Gemini Dimensionals Clear Stamp - Festive Phrases
Gemini Dimensionals Elements Metal Die - Sparkling Snowflakes 2
Crafter’s Companion Dimensionals 12 x 12 Printed Paper Pad - Decorative Christmas
Crafter’s Companion Dimensionals 12 x 12 Matt Cardstock - Decorative Christmas
Gemini Dimensionals 5 x 7 Embossing Folder - Snowfall Drift
Die'sire  essentials circle and scallop die
Centura Perl Snow White A3
Nennah Card
Peacock Feathers Distress Ink
Stazone Jet Black Inkpad
Dabber, Gems
Collal Tacky Glue,  Spray and Stay Permanent Glue by Crafter's Companion.
Craft Essentials


Step by Step
Inside of the card:

1-  Create 2  blanks of 18 X 14.5 cm for the base card with the Centura Pearl A3 Cardstock. Score and fold one by the middle. Keep the other one straight and draw a line with a pencil in the half. Do not score!
2-  Position the Sleigh concept die in the straight card. Make sure the notches in the die are aligned with the pencil line. Secure the die in position with a low tack adhesive and cut and manipulate the pop-up. Score across the card but not over any of the concept parts, gently fold out the sleigh.

3.-Cut a Neenah card piece of 9 x 14.5 cm. Emboss the piece with the  Snowfall Drift Embossing Folder. Use the Peacock Feathers Distress Ink with a dabber to blend a border around the card.
Position the piece in the inside top of the card and place your concept die over the base card in the same place where you have the first die cut.  Secure the die with a low tack adhesive die cut (only this piece of paper).  Remove the base card from underneath and run it through the die cutting machine. Snip and discard away the partial die cut and you will get the perfect outline to do the layering.  Die cut the curvy line horizontally in the middle of the piece. Stick the piece in the inside top of the card as shown.
4.- Line the base card with the pop out over the plain base card so the back of the pop out can be seen. Use a piece of  paper pad with the same design of the inside of the card to stick in the base card just underneath the white space where the pop up is. Make the same procedure for the base of the card with your patterned card.
5.- Glue the two blanks together. Make sure don't glue around or in your pop up.
6.Die cut the little houses and the trees to be positioned over the curvy line. Add some colour with the spectrum Noir Colour Blend pencils. Affix to the card.
7.- Die cut the sleigh out of coloured cardstock. Use the sleigh stamp with the Stazone ink over the die cut to give it more detail. Coloured with a white or golden gel pen. Die cut the presents the ribbons and the bow. Form presents and stick then in the sleigh as shown.
8. Use the  Sparkling Snowflakes die to create two borders out of White Centura Pearl. Place them in the inside bottom as shown.
9. Stamp one of the sentiments from the  Festive Phrases clear stamp set. Die cut it with the circle die and layer over a patterned paper.  Affix the sentiment to the inside bottom centre with foam pads.


Outside :
1- Cut a piece of patterned paper slightly t  smaller than the top of the card. Layer the piece on the top.
2-Use the  Sparkling Snowflakes die to create two borders out of White Centura Pearl. Place them in the top as shown.

3. Die cut the sentiment 3 times, glue them on top of each other to give it dimension. Place to the top of the card in the right button. Die cut a big snowflake and affix to the card as shown. Add a clear gem in the centre to finish.


Thanks for stopping by!   🎄Christmas blessings for everyone xx

Wednesday, 14 November 2018

Back to Basics - Nesting dies 💜

Hi, Crafty Friends

Hope you are well and happy. 💖 Today I have two projects just to show you the versatility of the  Nesting  Die Sets. They are a must-have for any crafter enthusiastic.  They came with plain, stitched, torn en the edge and scalloped, you’ll have great fun creating many different looks with them.

They are awesome for matting and layering but also perfect for making, frames, apertures, shaker cards and more. Mix it with any of other circle nestings dies like scalloped; plain and torn edges for alternative styles.


Use you nesting dies for matting and layering to get a fab, eye-catching dimension.


Combine the nesting dies to get really cool apertures or frames for your shaker cards as this example.


Thanks for stopping by 💖 Happy Crafting!  😀

Sunday, 31 December 2017

Holiday Memories - Tutorial


Christmas is the most special period of the year and is time to impress the people who are important to you with the most unique Christmas cards. The Kinetic cards are really easy to create and the result is stunning. Let's get started!


You will need:

-Black Mat Cardstock
-Circle Kinetic Die Basic
-Neenah Card
-Centura Perl Snow White
-Traditional Christmas Cardstock
-Jingle Bells Die'sire Stamp Set
-Golden Luxury Cardstock
-Lace Doily Die
-At Christmas and Snowflakes of Joy dies from "Contemporary Christmas Collection"
- Die'sire Circle die
-Collal Tacky Glue
-Foam Pads
-Distress Ink Aged Mahogany
-Ribbon
-Flat back Cabochon
-Stazone Jet Black
-Glossy Accents

Step 1


Create a card base with the Kinetic Circle Die in Black Mat Cardstock.

Step 2

Die cut the layering pieces with the outside cutting die of the Kinetic set.
(Remember to cut two circular ones). Apply the distress ink working in circular motions to the edges of the paper using a sponge or a blending tool.


Step 3


Use the ribbon to create a bow. Wrap the ribbon around the bigger piece of layer as shown.


Step 4

Die cut a small doily out of Golden matte cardstock.


Step 5

Use the Stazone Ink to stamp the sentiment. Cut it out with the circular die and affix to the golden doily using foam pads.


Step 6

Add the pieces to the base card using the tacky glue. Remember to attach the back circle!


Step 7

Die cut the deer ("At Christmas" set) out of Black Mat Cardstock. Cover the die cut with a thin layer of Glossy Accents and let it dry before attach it to the card. Glue the Bow.


Step 8
Die cut 2 Snow Flakes one in Golden and one in White overlap them and attach them together by the centre. Finally, add a Golden half pearl to the centre and affix the piece in the centre of the back circle.


Finally, a huge thank you to all of my loyal crafty friends.   I sincerely appreciate your support. Wishing you and your families all the best in 2018. 🎄🎅

Sunday, 24 December 2017

Celebrate !


Hello Crafty Friends !


Hope you are Ok.This Christmas card is quick and stylish. I created this card to go with  my present for the Secret Santa. The present was a handmade bracelet in Silver 925, sweet water pearls and the traditional Czech Preciosa beads.
 I am so glad she like it ! 


You'll need:

-Neenah Card
-Blank stepper card
-Centura Perl Snow White
-Traditional Christmas Cardstock
-Jingle Bells Die'sire Stamp Set
-Golden Luxury Cardstock
-Parisian Mirror Die
- Snowflakes of Joy dies from "Contemporary Christmas Collection"
- Die'sire oval die basic
-Collal Tacky Glue
-Foam Pads
-Distress Ink Aged Mahogany
-Golden Half Pearls
-Stazone Jet Black


Wednesday, 6 December 2017

Happy Holidays 😍

Hello Crafty Friends !

Hope you are OK . Today's card is easy christmas card made with the stunning Centura Pearl Gold cardstock and a lot of die cutting! Hope you like it

You will need:

-Neenah Card
-Sizzix  Framelits Stephanie Barnard Drop-Ins Card Die Set
-Centura Perl Snow White
-Traditional Christmas Cardstock by Crafter's Companion
-Jingle Bells Die'sire Stamp Set by Crafter's Companion
-Golden Luxury Cardstock by Crafter's Companion
-Parisian Mirror Die by Crafter's Companion
- Snowflakes of Joy dies from "Contemporary Christmas Collection"
    by Crafter's Companion
- Die'sire oval die basic
-Collal Tacky Glue
-Foam Pads
-Distress Ink Aged Mahogany
-Red sequins
-Golden Half Pearl
-Stazone Jet Black


Thanks for stopping by 💖 Happy Crafting !