 Images from pinterest..
This beautiful project its useful as a gift . The cover can be personalized with the name of the person or his favourite stuff like, animals, professions, hobbies etc.

Techniques used:
Cuadrille, thermoformed, Funky foam décor
Supplies:
Funky foam light green, Dark gren, red, brown, yellow
White glue
Chalk Pastels
Black Sarphie marker extra fine
White gel pen
Ruler
1. - When trimming is best to move the Funky foam not the scissors, so as to achieve a cleaner, easier cutting.
2.- To mark or draw on Funky foam it is recommended to use soft pencils (2B hardness is ideal) . If you do not want to leave any marks you can use wooden sticks to mark.
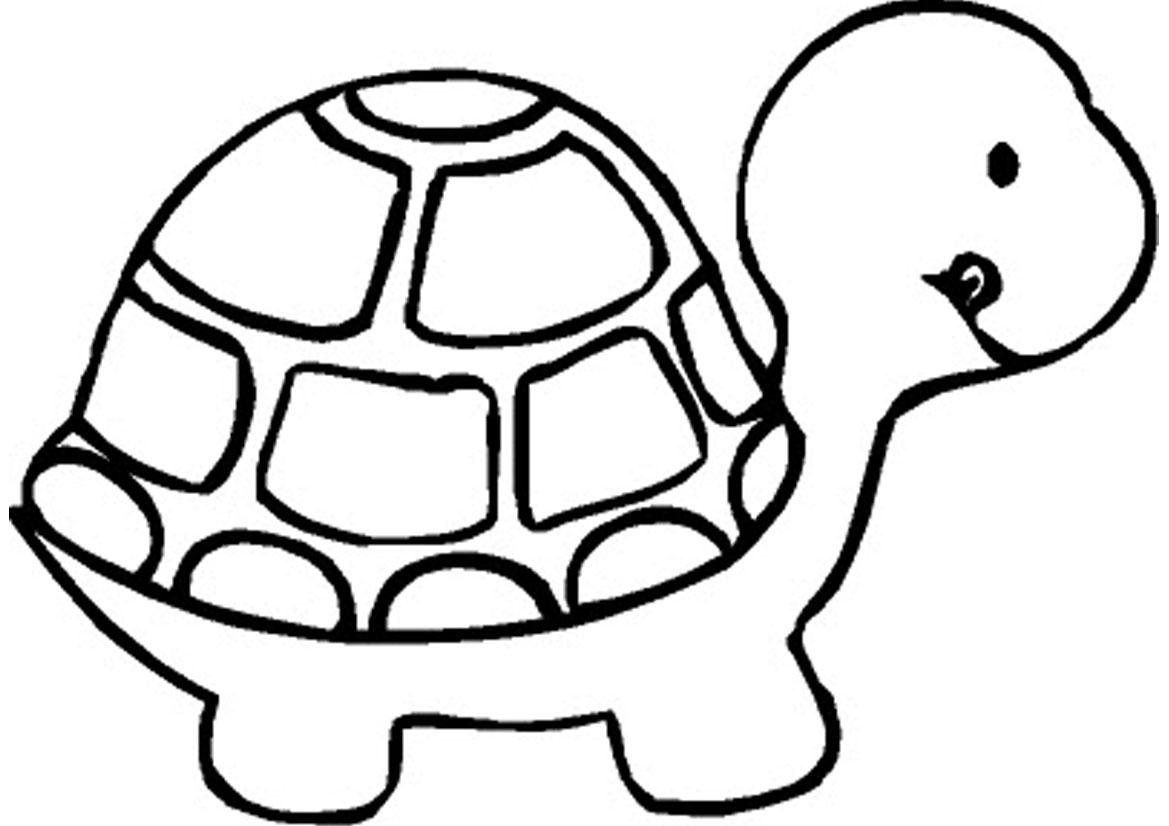
Here he images I used from the web.
Cuadrille Tecnique :
For the Bear
1.- Now cut out the drawing of the bear and transfer it to the brown funky foam using a pencil or a sharpened wooden stick. Be sure to draw the details like eyes, mouth, etc.
2.- Now cut out the funky foam and with the black Sharpie draw the details in the piece. You can add details like pink cheeks with pink pastel and light with the white gel pen.
3. -For the nose cut out a little piece of red funky foam in the shape of the nose and add with a tiny dot of white glue.
For the turtle
1.- Now cut out the drawing of the turtle and transfer to the yellow funky foam using a pencil or a sharpened wooden stick. Be sure of draw the details like eyes, mouth, etc.
2.- Now cut out the funky foam and with the black Sharpie draw the details in the piece. (Don't add details to the shell, because we are going use a dark green funky foam ) You can add details like pink cheeks with pink pastel and light with the white pen gel.
3. -For the shell transfer the drawing (only the shell) to a dark funky foam, be sure to add details and light with white chalk then cut it out and add glue to stick it to the yellow turtle.
Now you can add the turtle and the bear to your notebook cover as you please...!
You can use this techniques for made different kinds of figures as you can see and also you can add details like ribbons and embellishments.
© Artistic Crafts


